When I bought this retired racer all it had up forward of the main bulkhead was a toilet mounted on a box and the sail loft.
Looking forward.........................
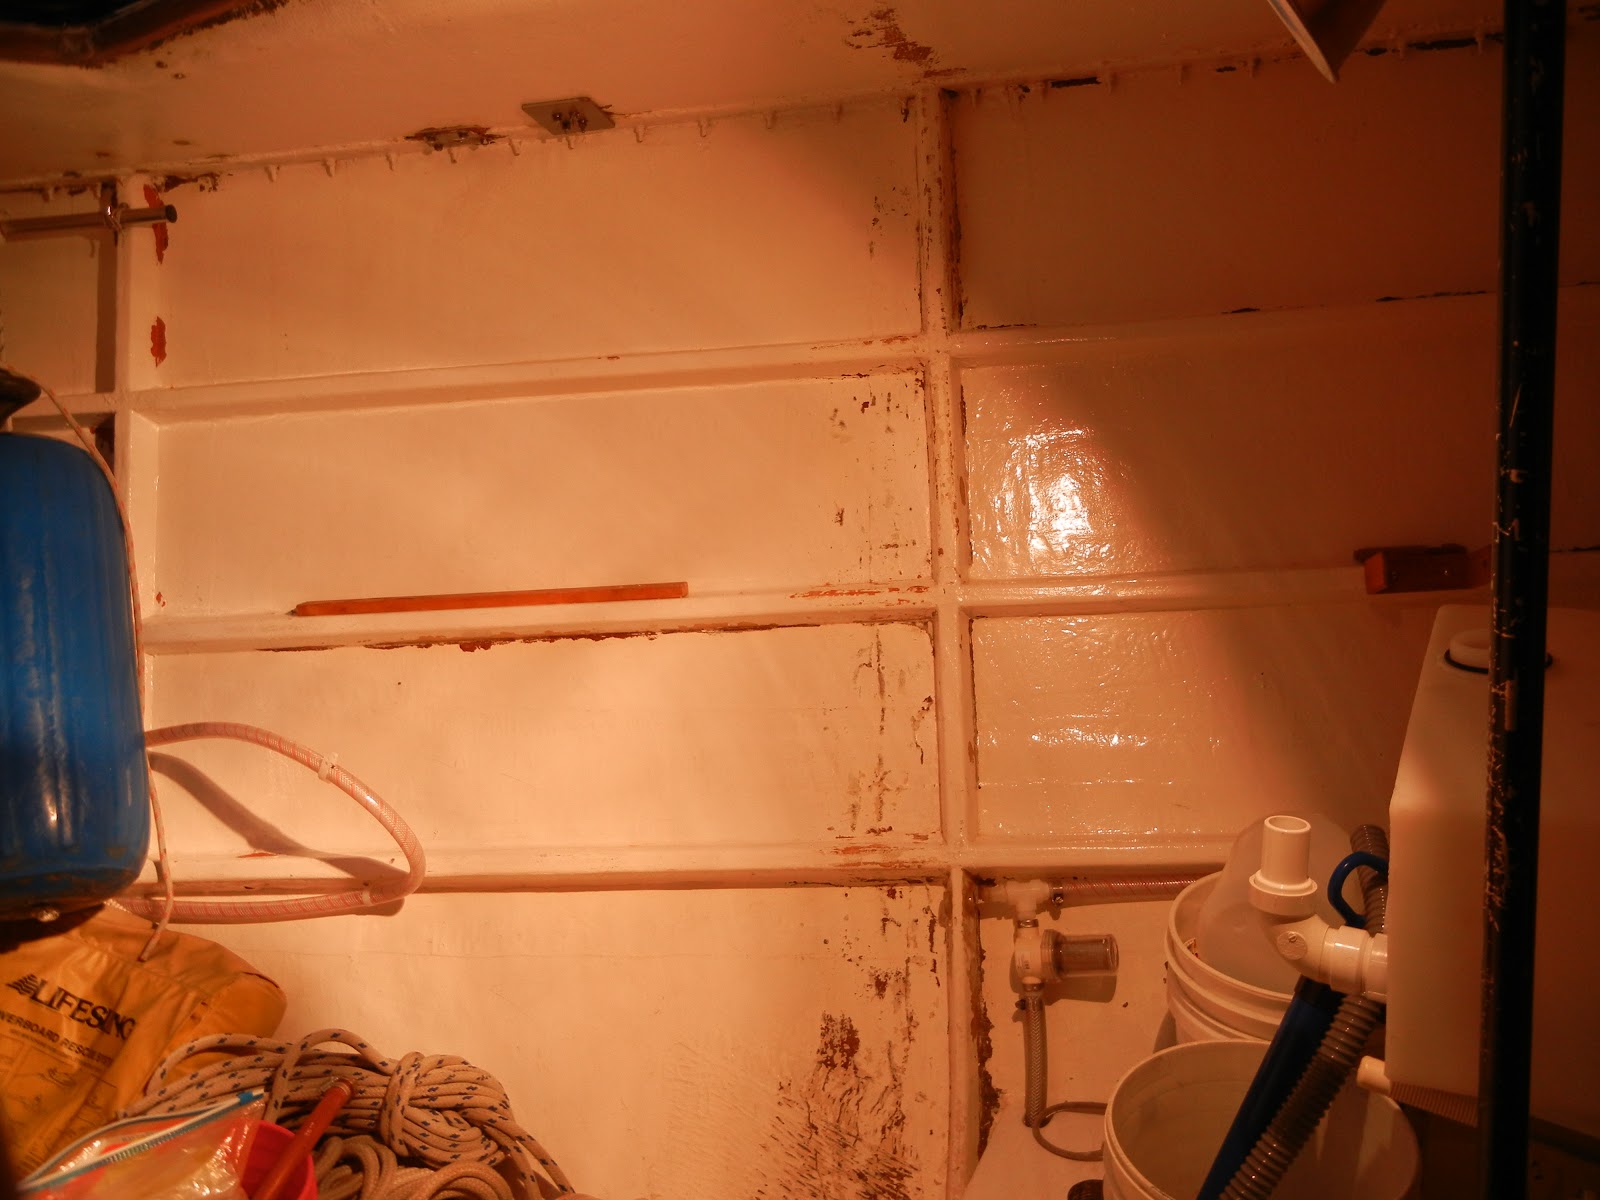
The first thing I had to do was strip 3 layers of old paint to get to the FG so the epoxy would adhere to and make a good bond.
Using a heat gun and a one sided chisel the paint came off fairly quick. Some places I had to grind off the rest using a carbide forming disk.
I had to cut away a couple of the upper stringers to make room for the new bulhead.
Then came the patterns. Using light weight paneling they were temporarily epoxied to the overhead and hull.
And using a form stick to layout points of intersection. By drawing a line around the stick and numbering it with either a side A or B it maintained real close distances and angles.
Other forms were made to go around stringers and hull angles.
After getting the Stbd side laid out it was time to transfer it to some 1/2" marine ply.
I put little finishing nails in the transfer points and used a thin 2' scale as a french curve.
And then used the forms to for around the stringers and deck shapes.
After the plywood was cut it fit in pretty good.
One problem I ran into was that the plywood was 48" wide but the biggest access hole to get it in the boat was only 43", which happen to be the main entry. So I had to cut off a small section up by the hull/deck joint and splice it back in once the panels were in place.
Then came the tabbing process after filling in the outer gap with a sealer.
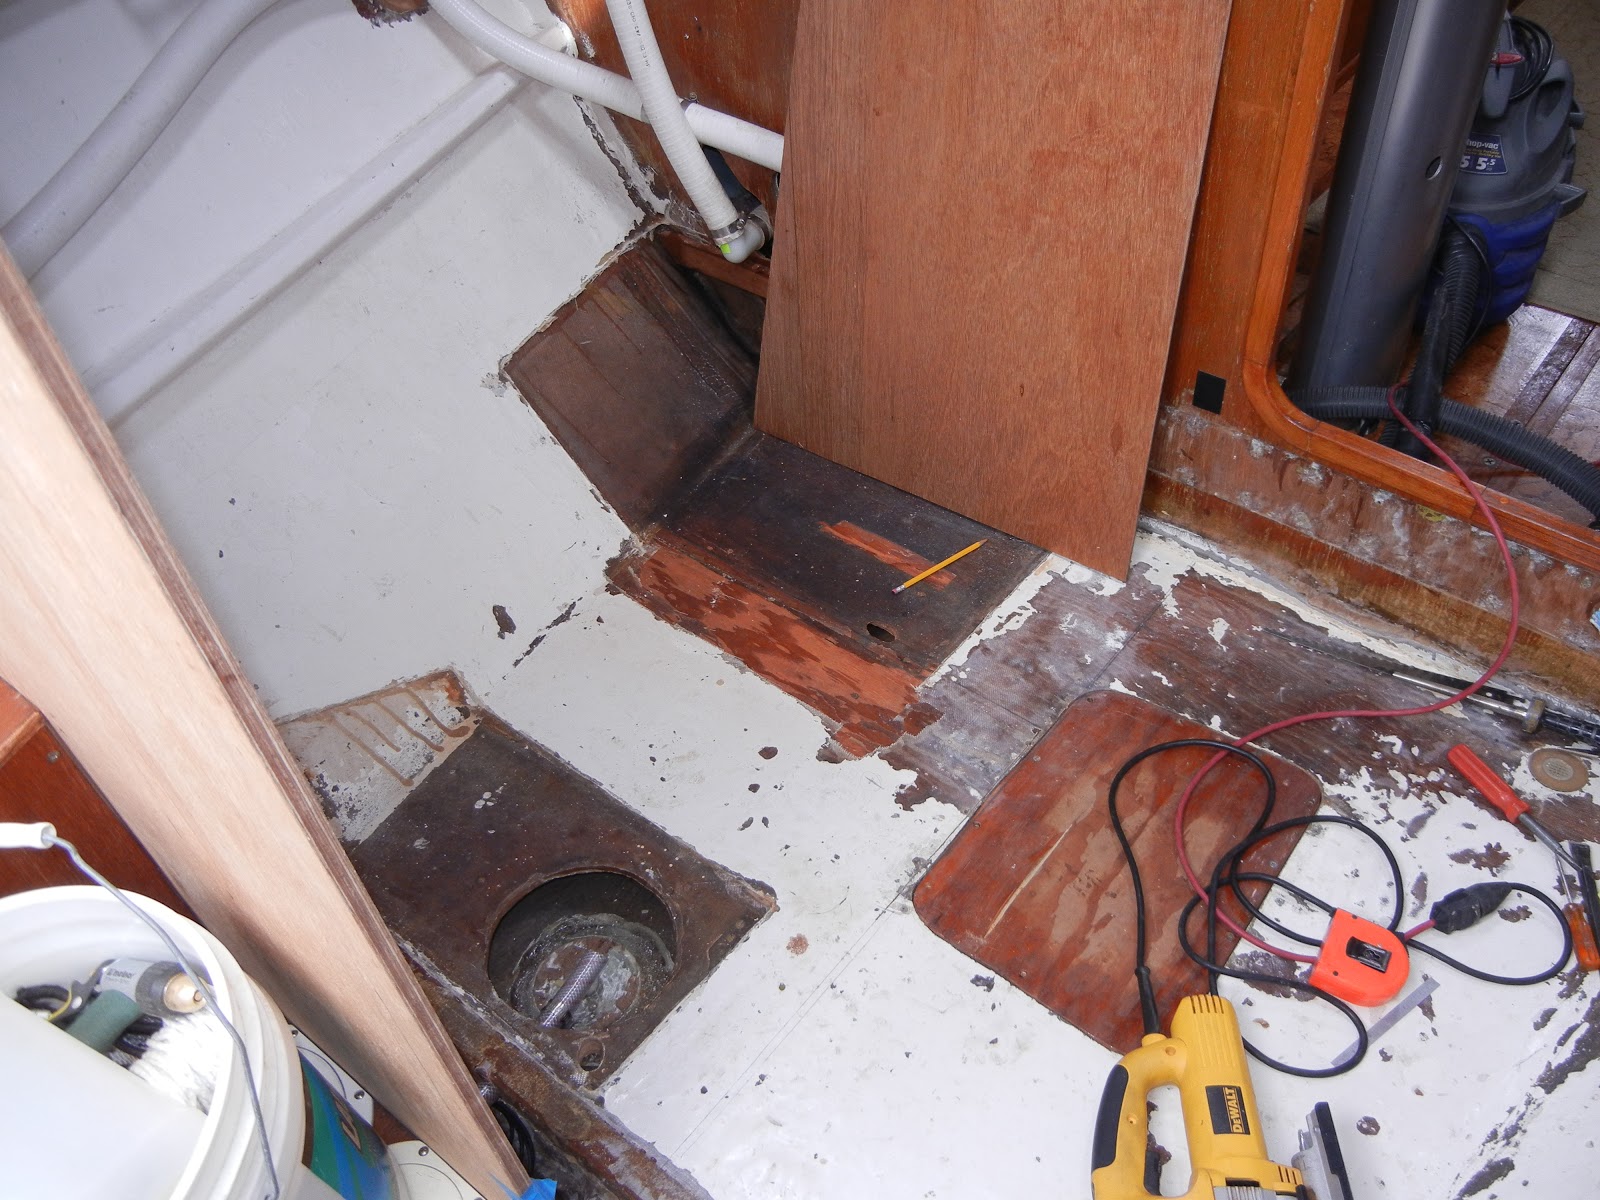
Another problem was the thru hull/inlet valve for the head was in a bad location.
Since the fish finder transducer was just forward of the new bulkhead, I installed a new thru hull just outboard of it.
Once the bulkhead was all tabbed in place it was time for a new holding tank. The old holding tank was aft of the main bulkhead under a settee, which will eventually be where a watermaker will be installed.
I ordered a custom tank with the fittings placed as needed.
Also put in a new pump-out fitting, replacing the old mis-marked one over the toilet. Also put in a vent, which had never been installed for the old one.
The thru hull supplies raw water to the head and the anchor washdown pump. I cut myself short of room when I installed the new thruhull but was able to get it all in place with a few street elbows.
Then came the cover and fittings
I put a water proof/protection box around the thruhulls and tabbed that all in.
Everything is a bit tight but what boat isn't? I can get my hands in to work on the hoses/clamps, but if need be I can still pull the tops off of the thruhull and holding tank boxes.
As well I needed a place to hang and store all the gear. On the port side I epoxied in supports for a rigging board. I plan to put in storage shelves on the Stbd side, but I've moved onto the head first.
Adding a little more storage space over the new holding tank.
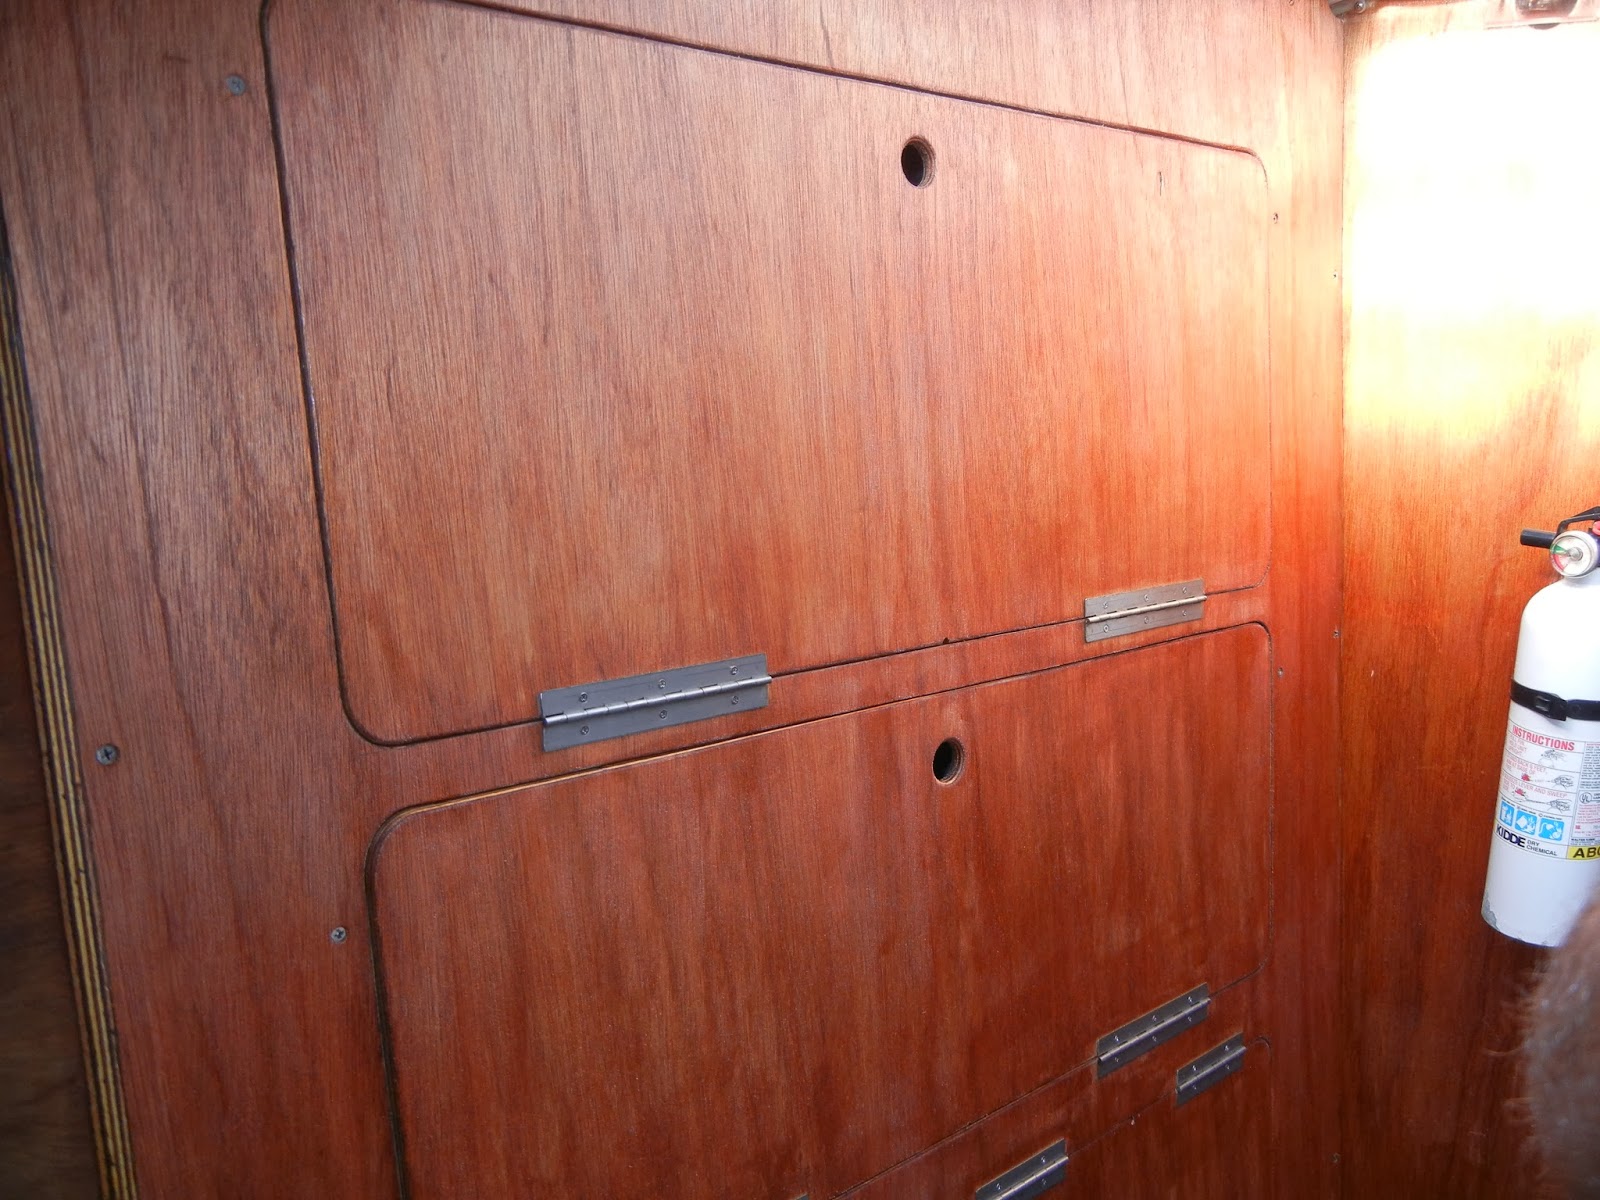
The face has about a 5º angle so the doors stay shut on their own while at the dock. But I'll be adding twist buttons later. The upper compartment doors fold down and the bottom one folds up. I figure the top shelf will be good for the life raft and ditch bag since it's right under the big hatch. I found too that by using the holding tank corner and the lower shelf as steps, that I can get out the big hatch fairly easy now. It makes a great emergency escape now.
The upper shelf is where the life raft and ditch bag goes along with some other supplies.
The center section is where the tools go................
And the small door at the bottom will be for soft supplies since the sewage hoses are in that area unprotected.
That's it!