This is a job I would not recommend to the faint-hearted. This took a lot of crawling into tight spaces and sanding and more sanding, just all out work!
One of the first things I did was research for a good material for the cap rail. I didn't want to use wood for obvious reasons, dry rot! I will be drilling many screws thru the caprail and if ever there is a leak I don't want it to saturate the inner material. Solid plastic would have been very expensive and it would have to be a type that epoxy would adhere to. Solid FG would have been even more expensive.
A slip neighbor happen to be a contractor and was using some decking material inside his power boat. I acquired a piece and did some experimenting. I did some drilling, installed some screws to check holding power, cut with saws, did some grinding and sanding and some bending. I found it to be almost perfect for what I wanted and it was even water resistant for the most part. I sanded a piece to rid it of the shine and overlaid some epoxy and FG. After a couple days of curing I tried to pull the FG off. It was excellent I could only get the FG off at the edges, and then it was actually taking part of the board with it. I epoxied two pieces together and I could not get them apart w/o destroying the material. So, this is what I went with, a TimberTech TwinFinish Decking 1" thick x 5" wide.

It's basically a PVC bonded recycled plastics with wood particals. It looks and feels like real wood. You can even get splinters in your hands. But it is real hard on saw blades. There are tiny bits of metal in the works.
Then came the work! I had to get all the old T-track/toerail off, 60' worth. The extrusions had been on there for 30 years and erosion has set in pretty good. Most of the 5/16" machine screws were seized into the track, or the nuts on the other end was seized. More then Half I had to grind the head off and punch it down thru to the inside to get them out.
After getting it all off I could really see why it had been leaking thru the joint and into the interior. The aluminum was either eroded away or the sealer was so hard that there was not bond anymore.
Next came the clean up work and stripping the paint down far enough to bond the FG. As well, I found some old repairs that needed to be touched up and sealed over with FG/epoxy (the bow section and others).
As I was pulling off the old track in about 4' sections I would clean and replace fasteners as I went along, so as not to allow the joint to open up and stress the sealer that was still functional in the hull/deck joint. I used 5/8" washers under 5/16" flathead machine screws so they would be as flush as possible and have plenty of surface area to hold tight. I didn't bother with a sealer for the screws since I was going to FG and cap over the top of them.
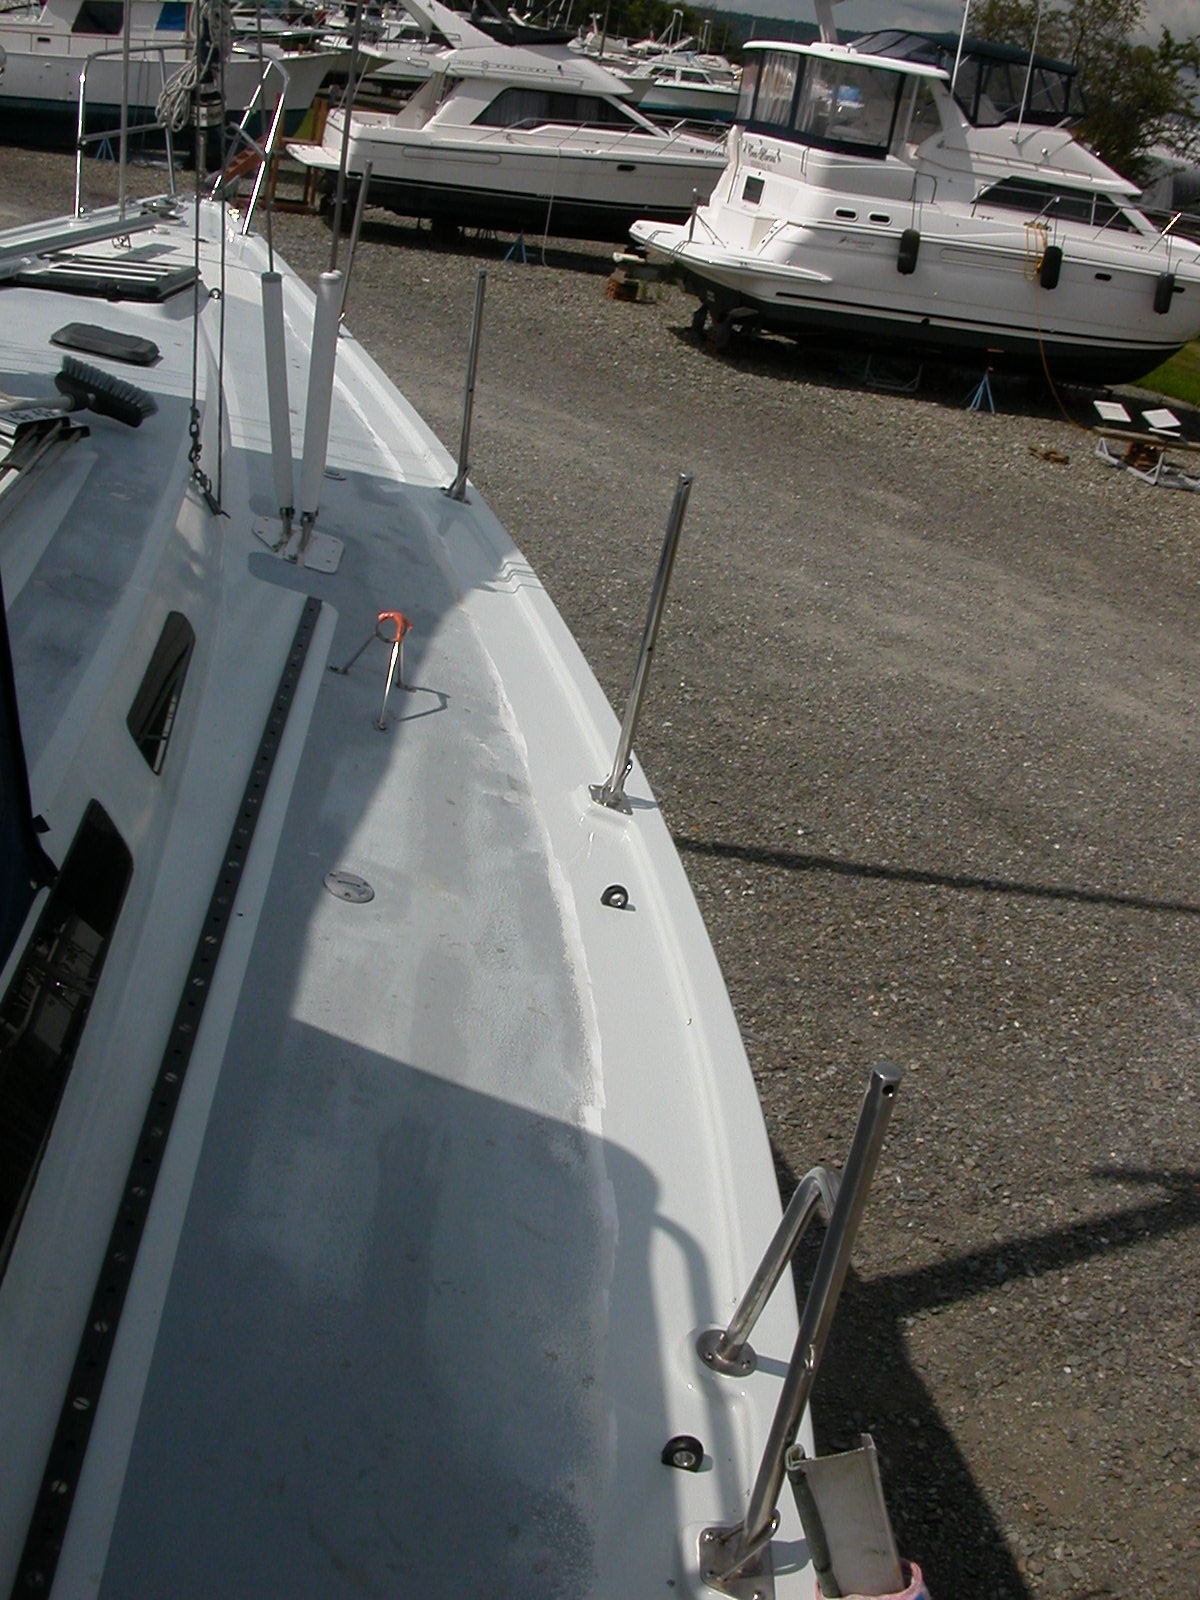
The next job was removing the stanchions. Had to cut away most of these screw too. Some I had to grind the heads off but most unscrewed or the nut seized and twisted apart.
Then came the fairing job. I used a polyester paste with FG filler and filled up to the top of the screws.
Then had to go back and grind it all as flat as I could, where I found out that the deck was not flat either. So I matched the best I could.
Next was to put a layer of 12' wide FG/epoxy overlaping the deck and hull. More on the deck for the first layer.
And more on the hull for the second layer.
Then sanded that all smooth and faired into the deck and hull.
With two layers of FG it was time for the caprail. The planks came in 5" x 12' long. The radius was pretty steep so I cut the planks into 6' lengths and lap joined them 1:4. With epoxy and screws both, that was more then enough.
I laid them along the edge, held in place with a screw at each end, then traced the hull radius from the under side. The took it off and saw cut the radius edges.
I mad a scribe tool to follow the outer edge and scribed them 3" wide following the edge.
Also laid out out coves for the stanchions to set on.
The material only came in 5" wide planks so I had to epoxy rem's onto the out coves to make them wide enough for the stanchion bases.
Since the caprail was now 1" high, there was a problem with water collection. So, at every low spot of a cove I put in a scupper hole using 1/2" FG tubing epoxied in place.
Having sharp corners I use a router to put a radius on the outside and inside edges.
This was the worse part. I needed the FG to have a smooth transition from the caprail to the deck so I had to do a fillet along the whole inside edge. I used a hi-grade automotive filler since a lot of the boat already had the stuff all over it. And since it lasted this long and I'll be glassing over this, I figured this stuff will out live me. Then I had to sand and patch to get it all smooth, which really wore out a couple of my finger nails even with thick nitrile gloves on.
Before I started this project I ordered a SS arch to go over the back of the transom/cockpit. I'll get into that later.
Now the catch 22. Since I had the toerail exposed I might as well reinforce the transom joints too. So, I stripped off most of the paint and and put a couple layers of FG/epoxy on all the edges, as well as the bottom edge of the hull/transom.
I needed to move the mooring cleats anyway. So all the old holes were filled before glassing over them.
Now onto the paint work. I used an Interlux under coat white as a light filler for minor scratches.
Then started on the finish paint, which was an Interlux 'Seattle Gray'. All the screw holes were drilled prior to finish painting. I used two jigs so that all the holes were the same for all alike stanchions.
I put tape over the holes at night/day to keep out any rain/moisture. This is Seattle.
After painting came the mounting of the stanchions. BTW, all these fasteners I had to have an assistant in or outside to help get them installed.
The bow section I removed the bow plate (again) to get theses forward sections cut to shape and in place. I also glassed over the whole bow section. Getting up in there to remove/install the fasteners was really painful, especially for an ole fart like myself.
I also bought a new stronger SS bow cleat to replace the old aluminum hollow one that had been on there for all of its 30 years. I put a block under it to give it a stronger base and to get it well above the anchor chain. I also added a couple SS chocks but still need to add the chaff guards on the edges for mooring lines.
The running lights were not up to specs for a 40' boat so I install new LED hood lights just forward of the pulpit rear stanchion.
And since I was going to change the color of the boat for the tropics, I went ahead and painted the whole thing. This is just the undercoat. What a pain this was. If I had to do it over, I would have stripped off all the blue paint. It took two coats of undercoat and then even more touch up to get it all covered. And the undercoat had to be wet sanded. Is was more of a filler then a paint and kept loading up the sandpaper.
But before finish paint I had to layout the waterline using a laser on a swinging tripod. Before removing any paint I had taken measurements to get the old water line from the main deck. And using three points, one forward, one aft and one amidship, I aligned the three points with the laser lights. Then proceeded to swing the transit along the hull, marking it every 6". And came back later using a flexible scale, drawing a line between each mark. Then had to go up 3" for the top of the boot stripe.
From the aft I had to find center first using a string divided in half from each side, then swing the transit marking the spot, which was difficult due to the angle of the hull. I ended up using the swing of the rudder for the outer most part. The transit also had to be at the same hight as the waterline so I made extensions for the legs of the tripod.
When the boat sits in storage I put short pieces of hose in the scuppers so that the dirt doesn't run down the hull creating a streak.
As you can see just the dirt from the caprail leaves dirty streaks.
And the finish product!
Now on to the arch........